
Haiku on UTM
 DigitalBox
- Tips
- April 11, 2025
My main computer is a MacBook Pro from 2019, which is working really fine for my daily usage.
Even if Haiku is installed on a dedicated machine - a NUC Intel -, time to time I need to use Haiku on my MacBook Pro.
VirtualBox was really disappointing on this machine, and when I discovered UTM on MacOS - which is based on QEmu - it was really a good surprise.
Let's review how to install and run UTM to use Haiku.
UTM installation
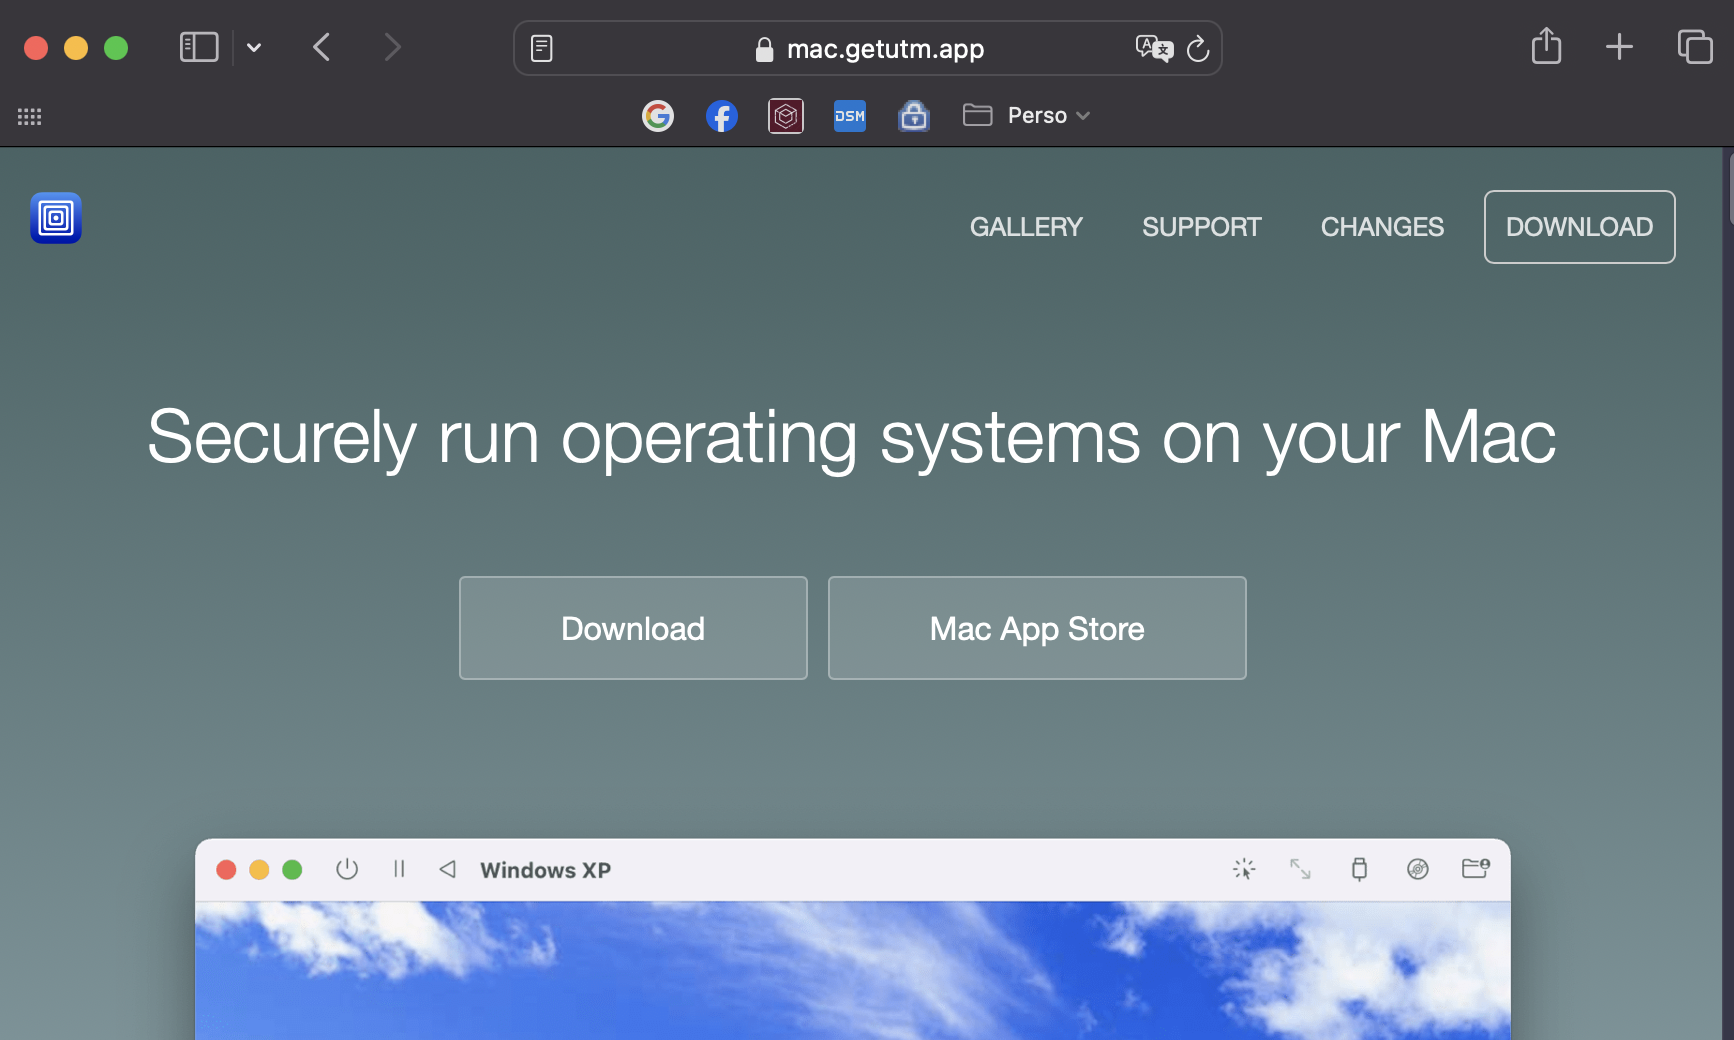
You first need to download the application on the official website : https://mac.getutm.app
Then proceed with the installation.
Click on the icon to run the software :

The main window below will appear :
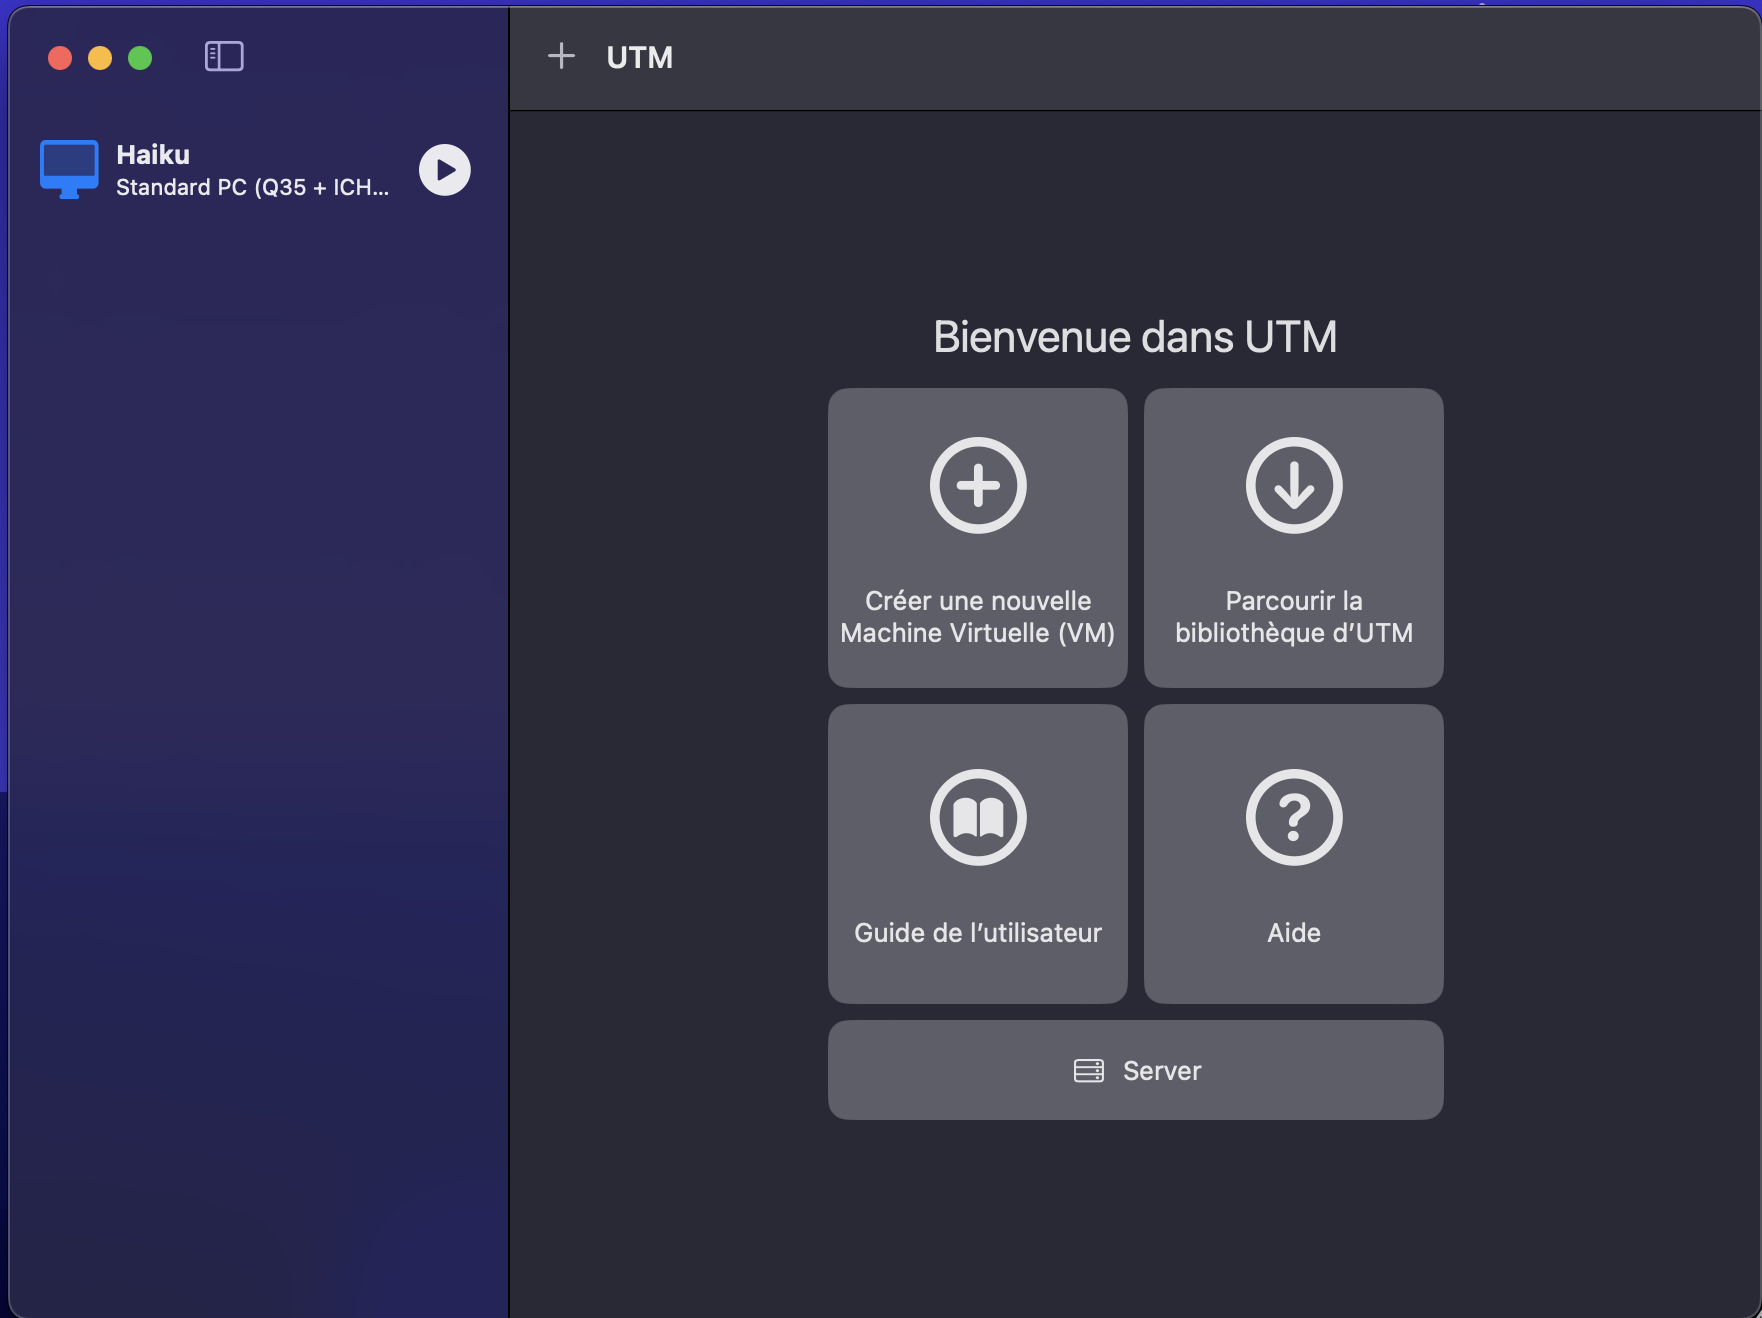
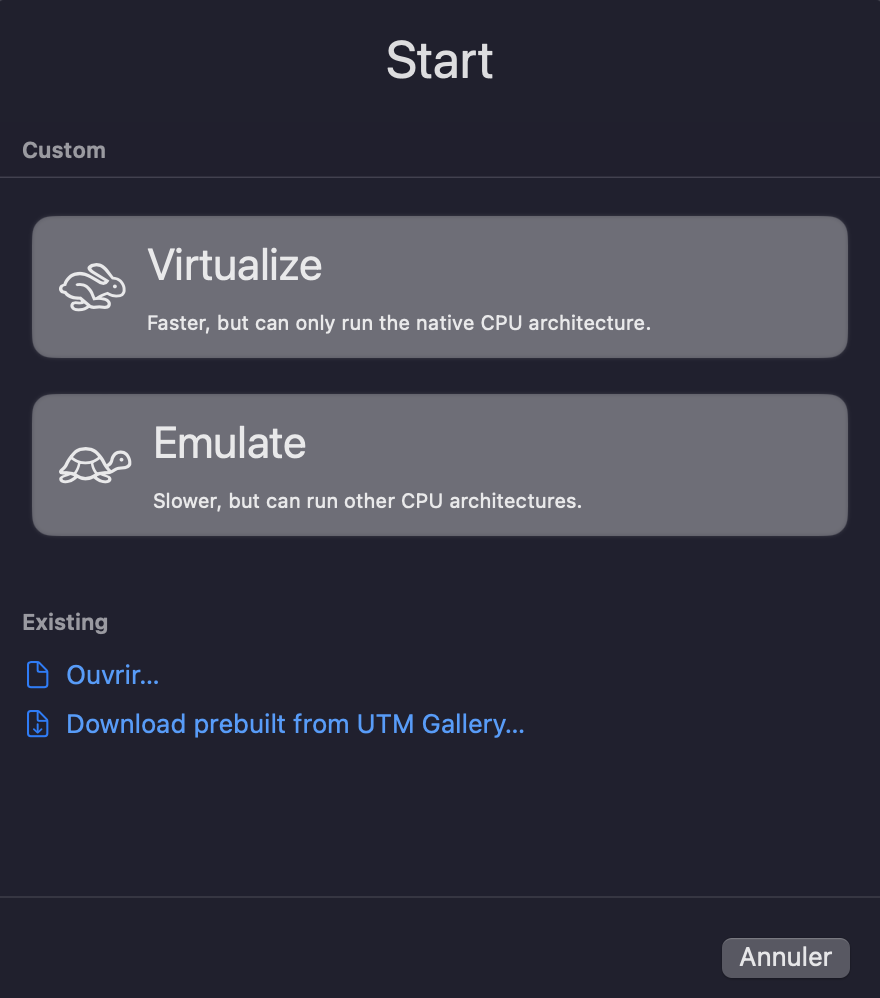
Click on "Create a new Virtual Machine".
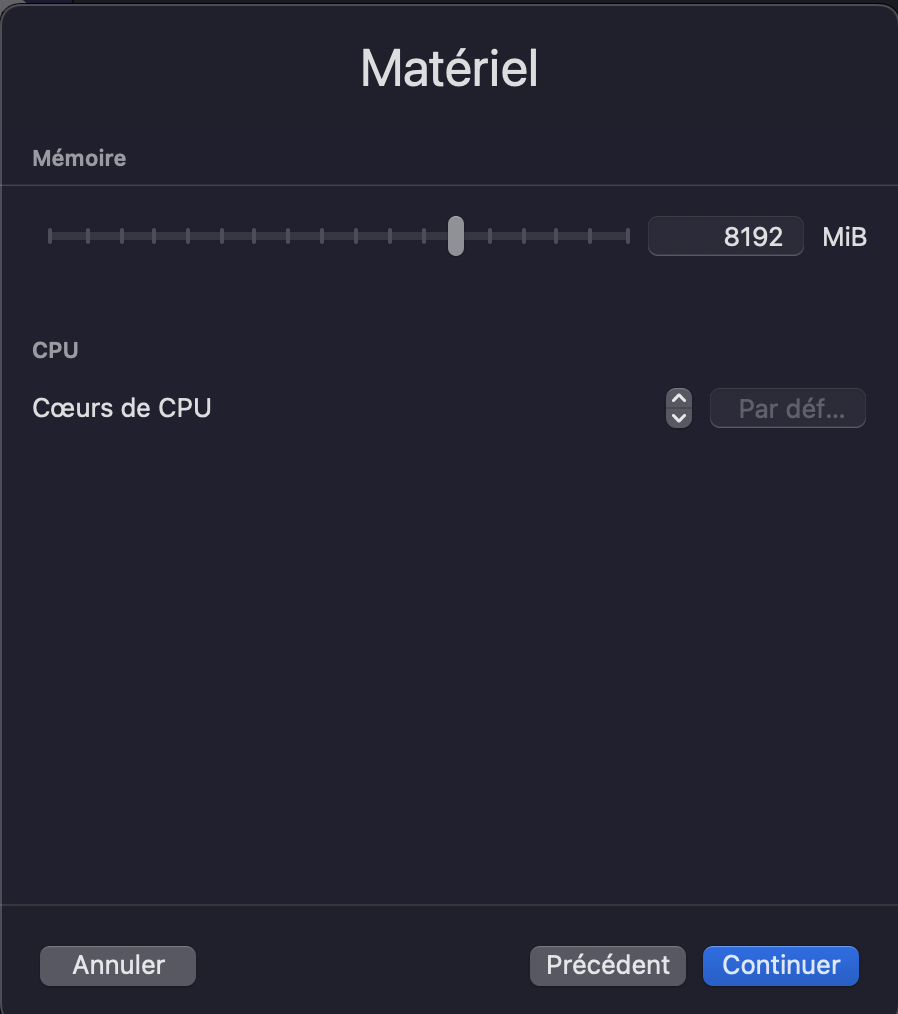
Then indicate the memory needed :
And the size of the disk to use :
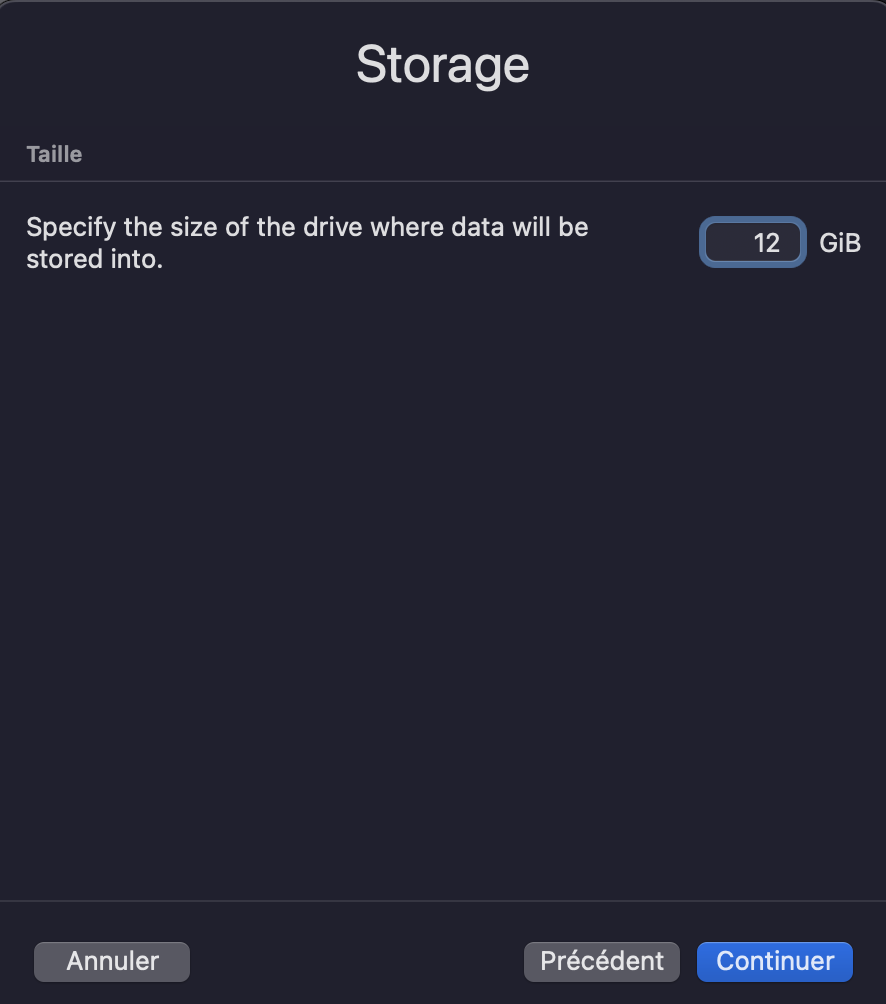
I'm using 12 Gb of disk space, which is enough for a standard usage when you need - for example - to compile the Haiku operating system inside Haiku.
Select "Virtualize" :
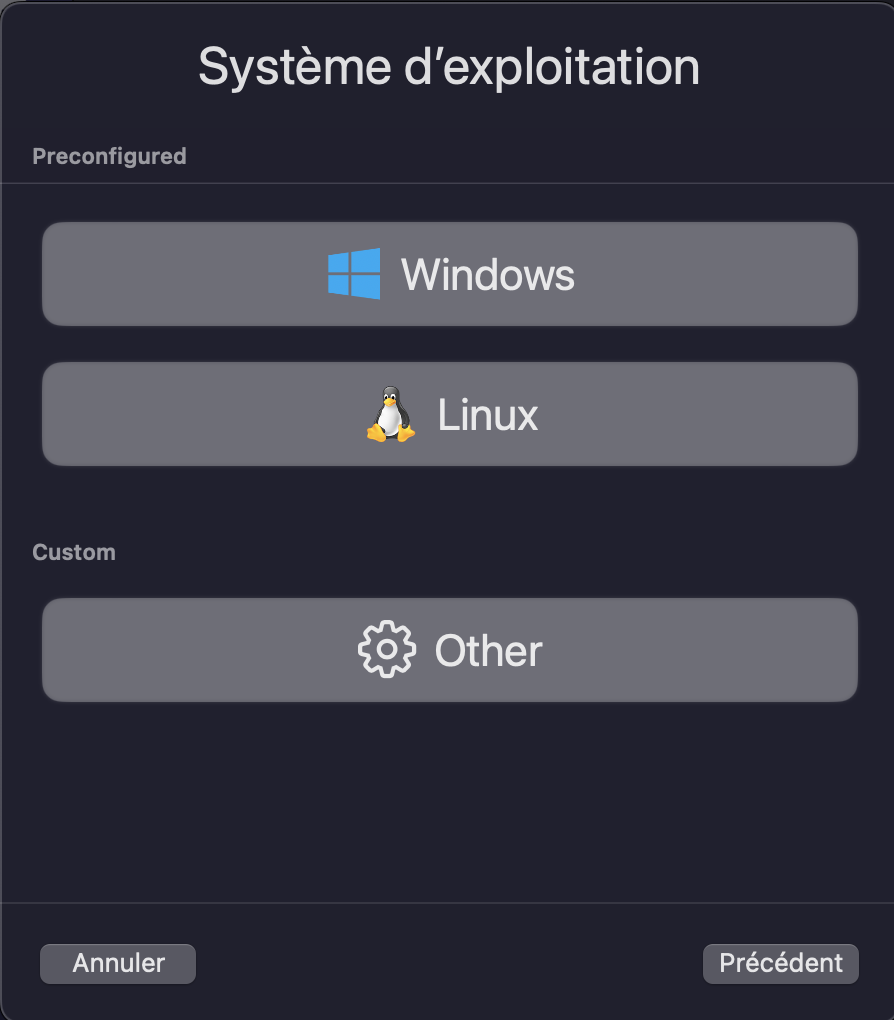
And "Other" for the operating system :
We will suppose you have already downloaded Haiku on the original website : https://www.haiku-os.org/get-haiku
Select the "CD/DVD Image" for the boot device :
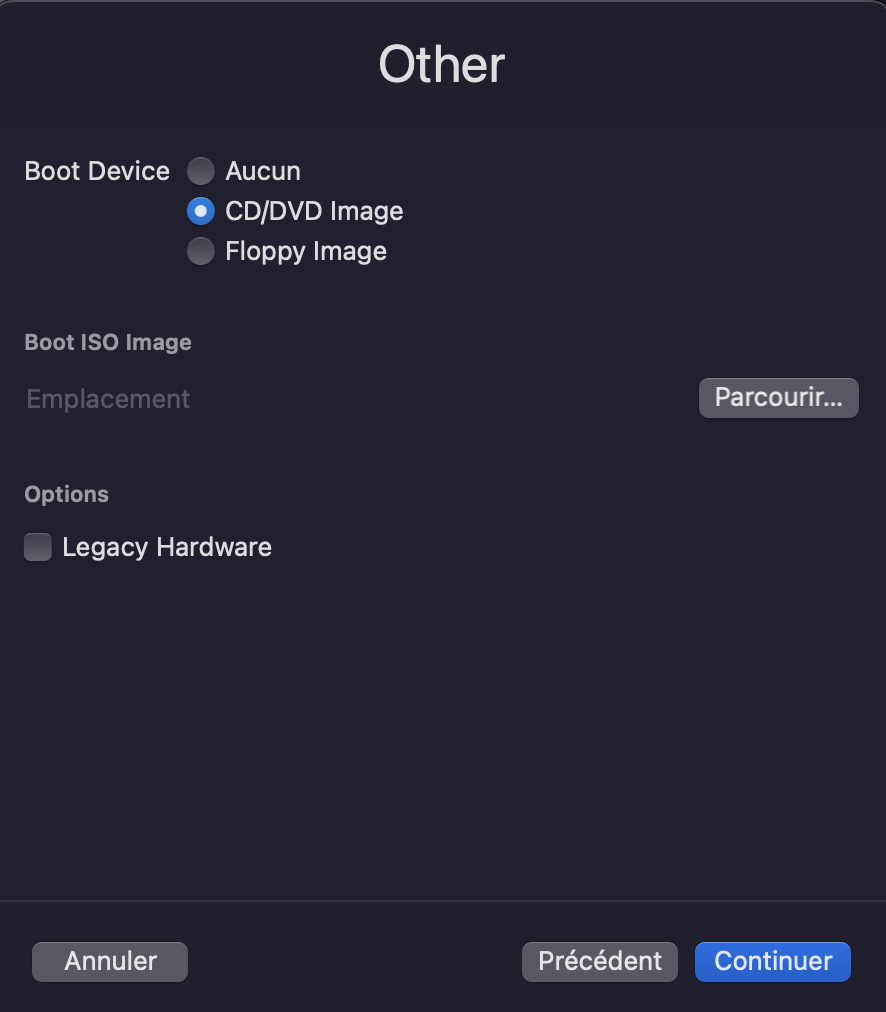
Click on "Browse" and select the downloaded ISO image :

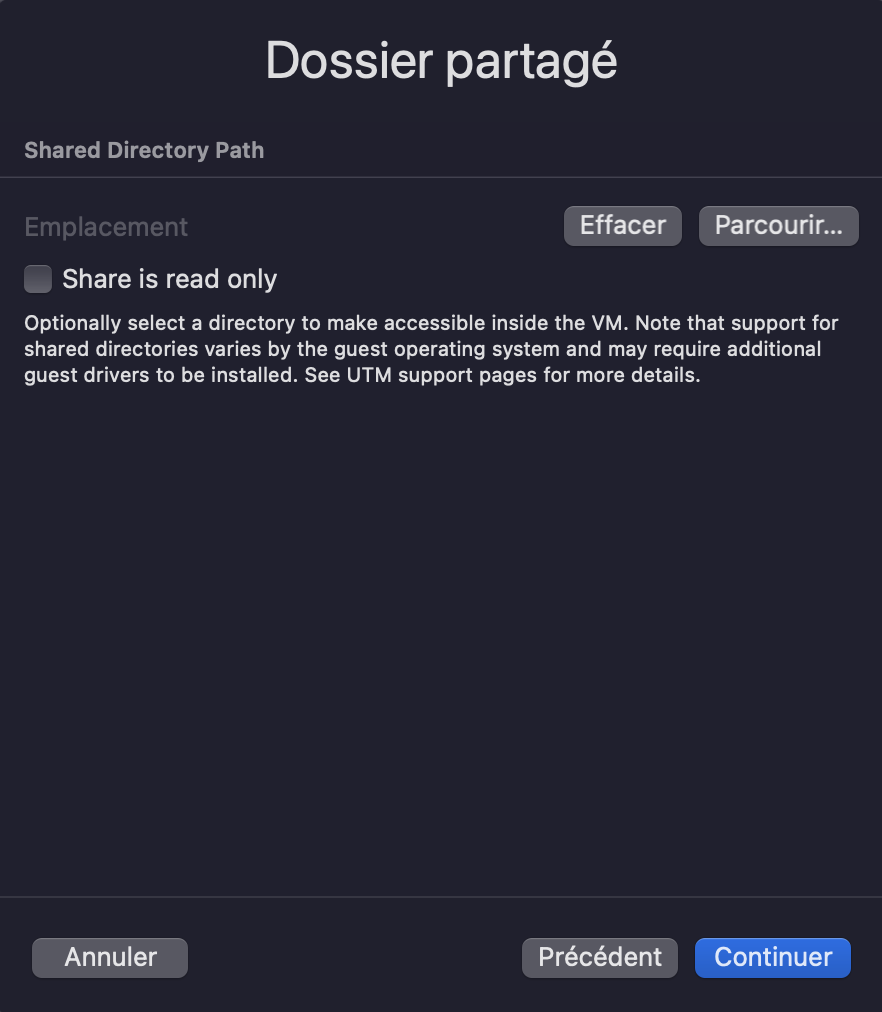
I don't need any shared directory, so you can skip the step below :
Then indicate the name of the entry which will represent Haiku under UTM :
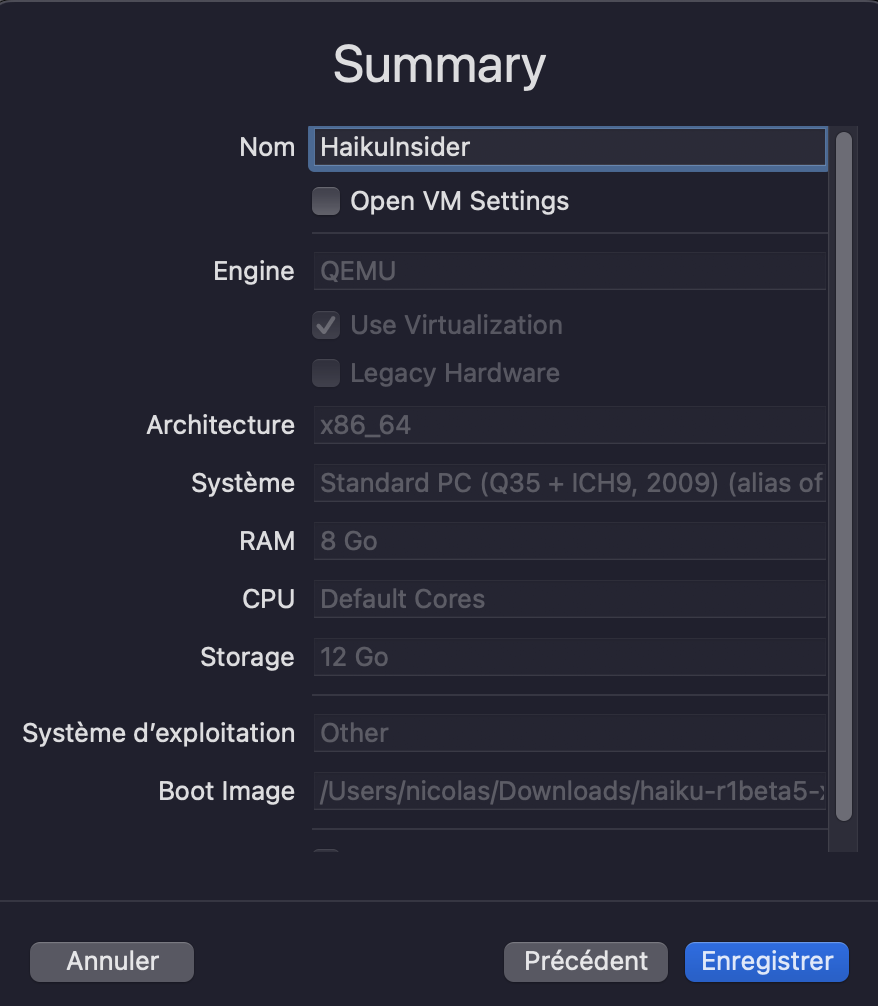
Confirm with "Save".
Haiku Installation
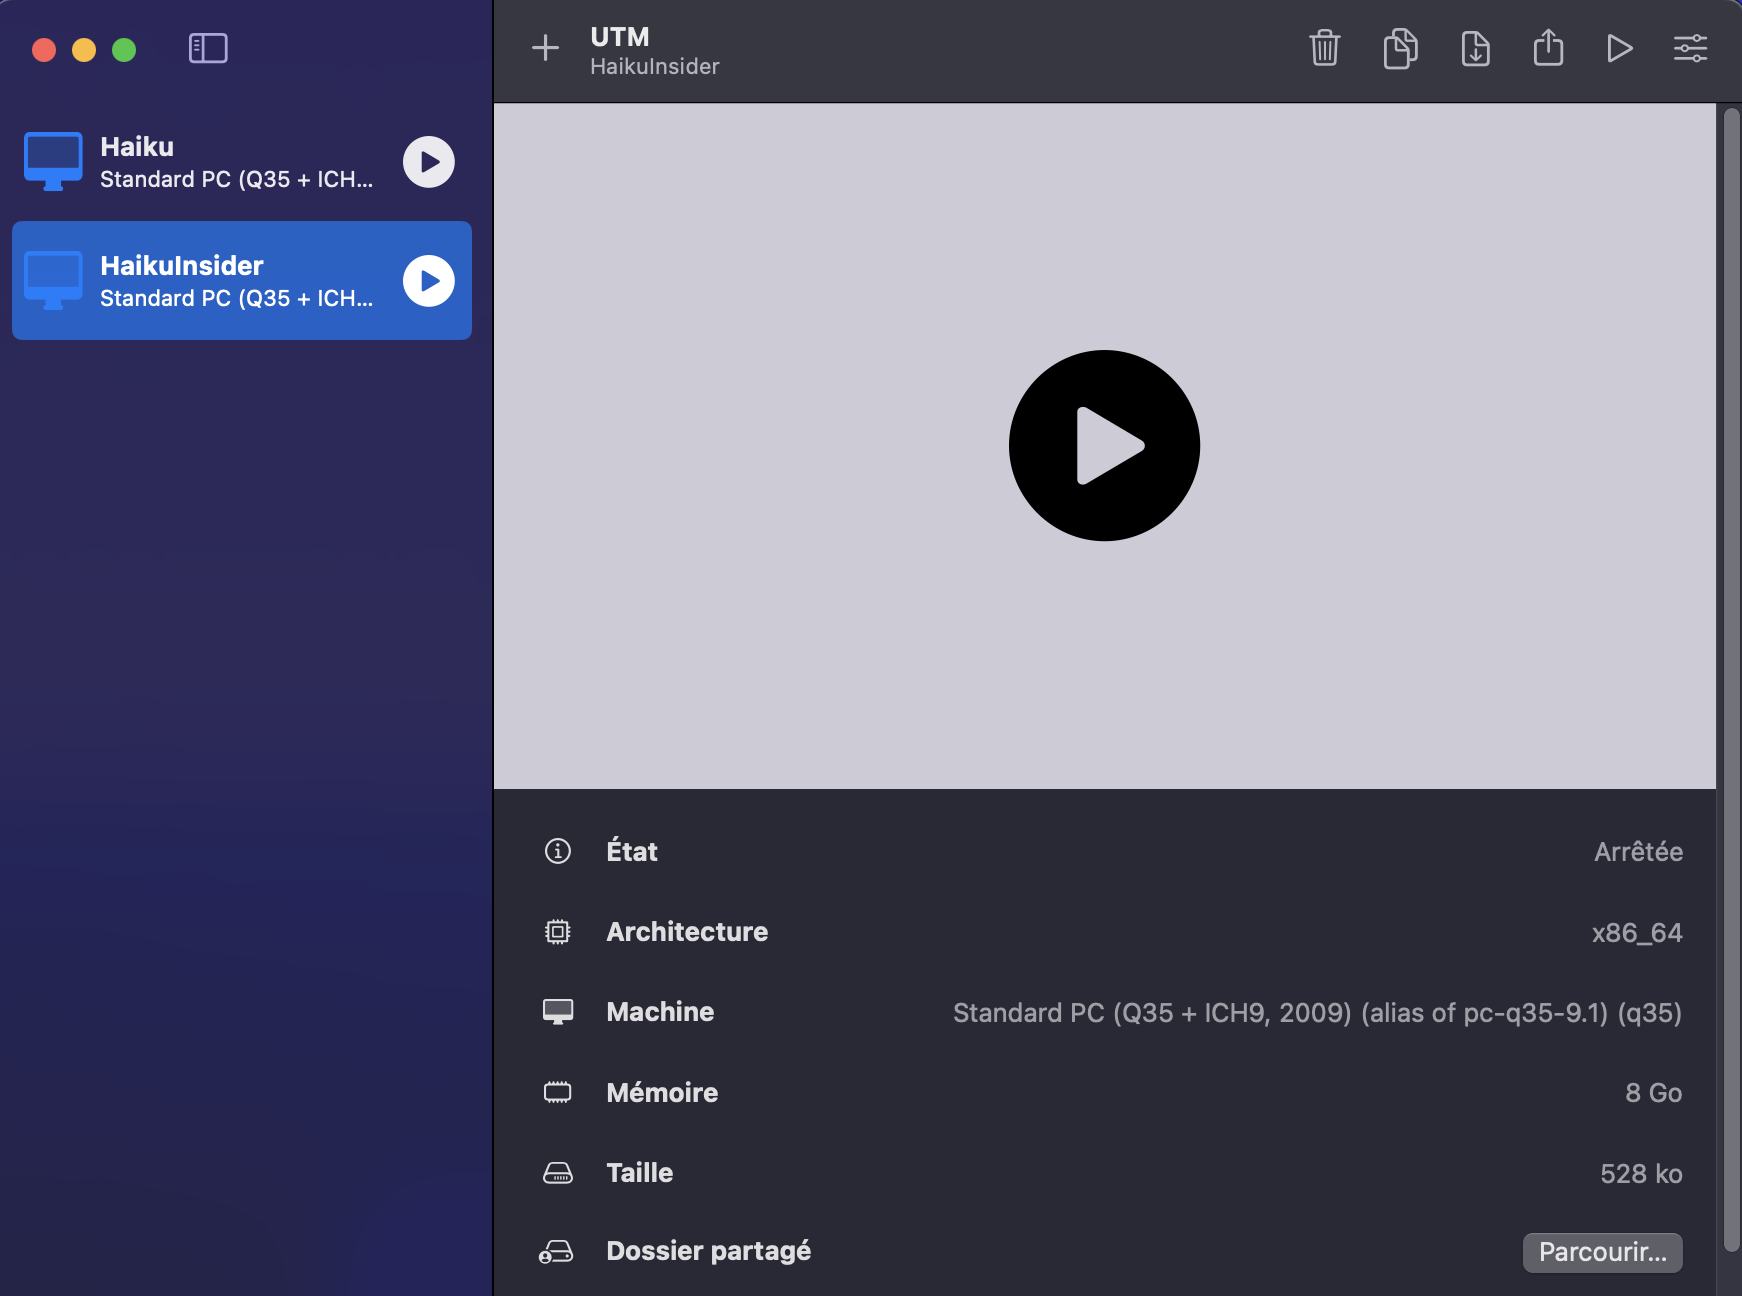
Select the Haiku system entry :
Right-click on it and select modify.
The below window will appear :
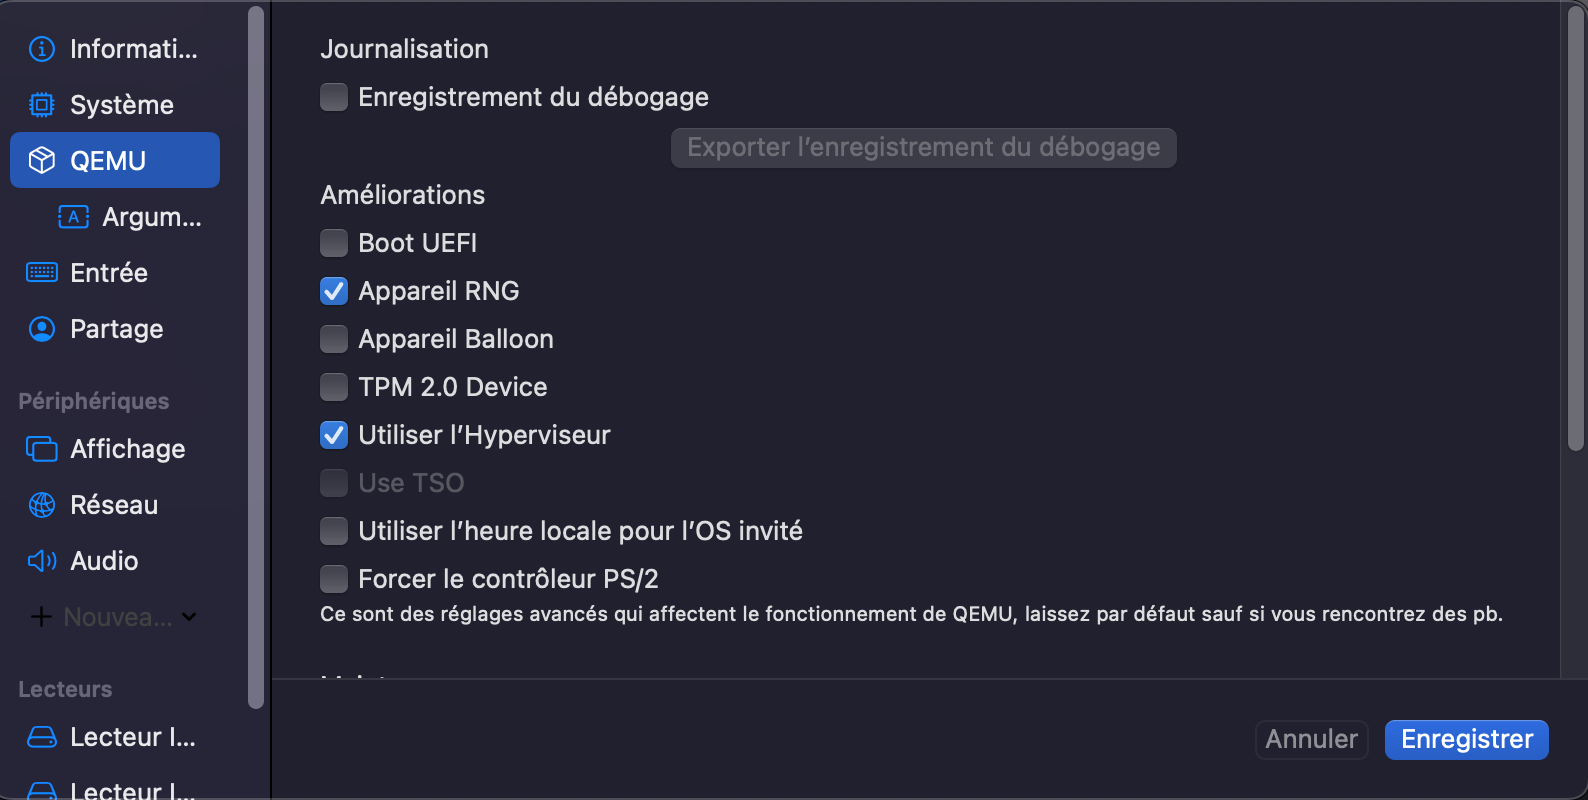
Untick the "Boot UEFI" option then save.
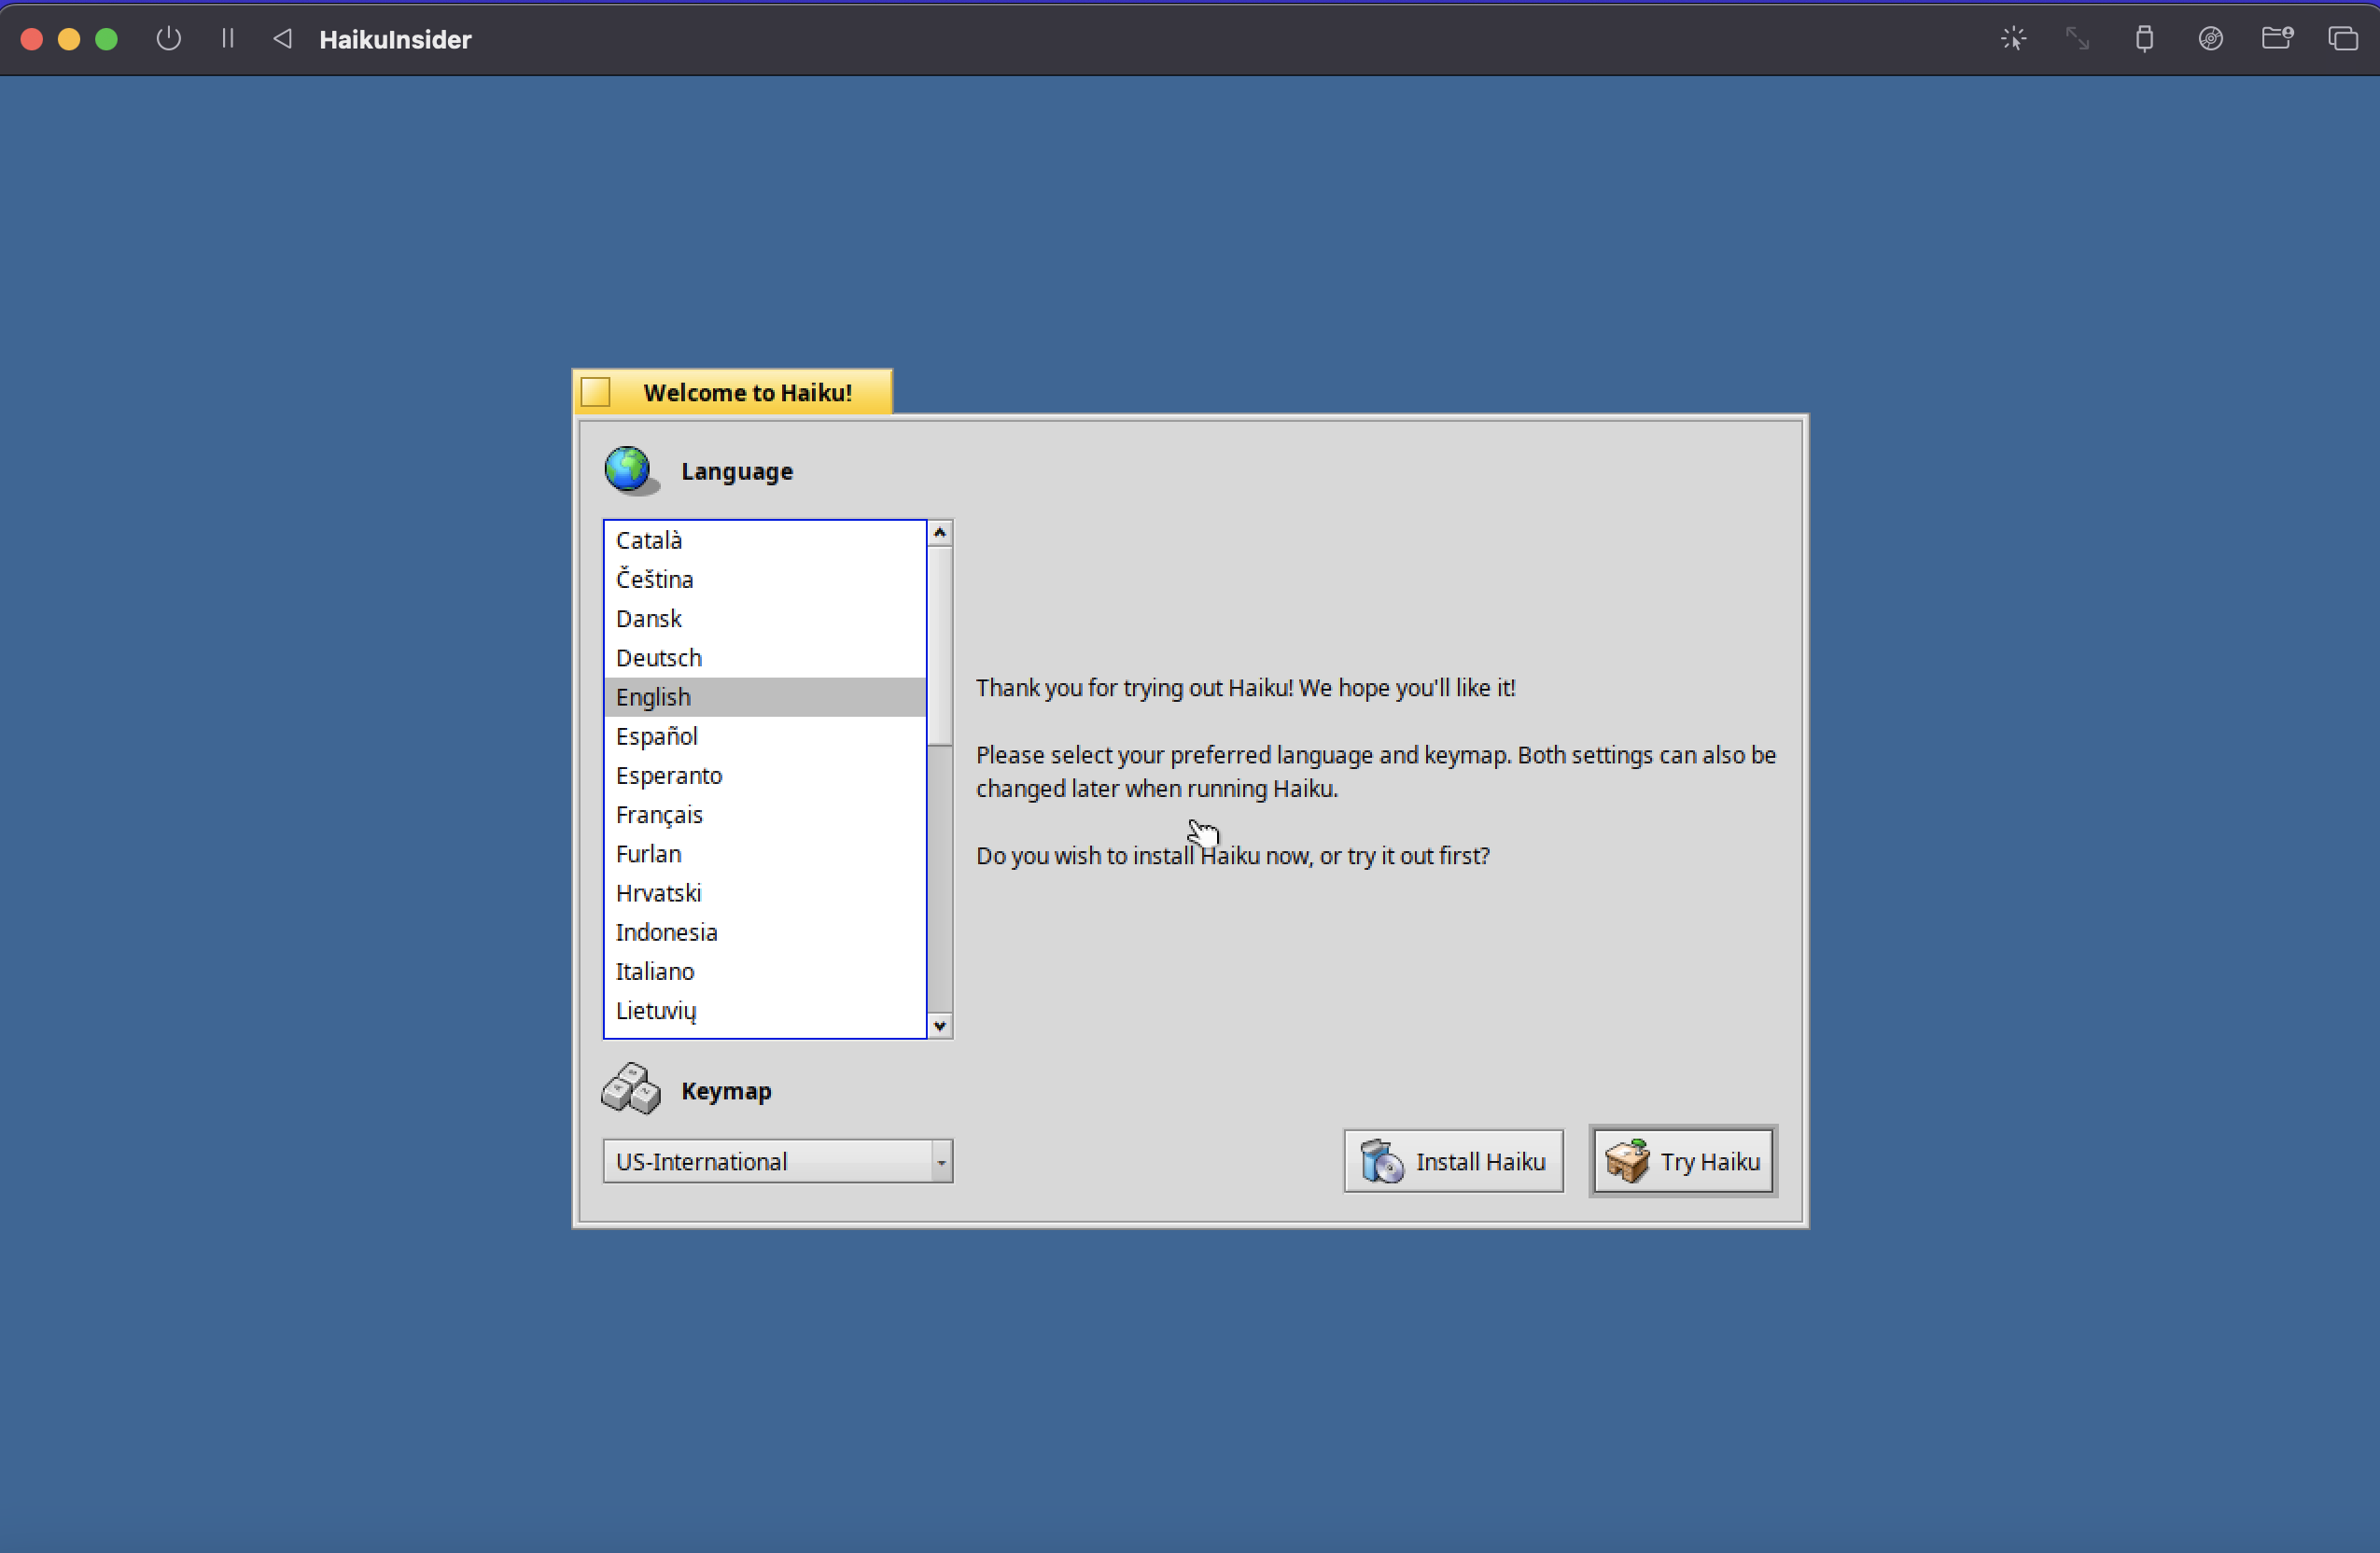
Click on the "Run VM" icon in order to launch the ISO image :

Then proceed with the standard installation of Haiku with the "Install Haiku" button :
If you want to know all the steps for the installation of the system, you can check the Installation Guide on the official website.
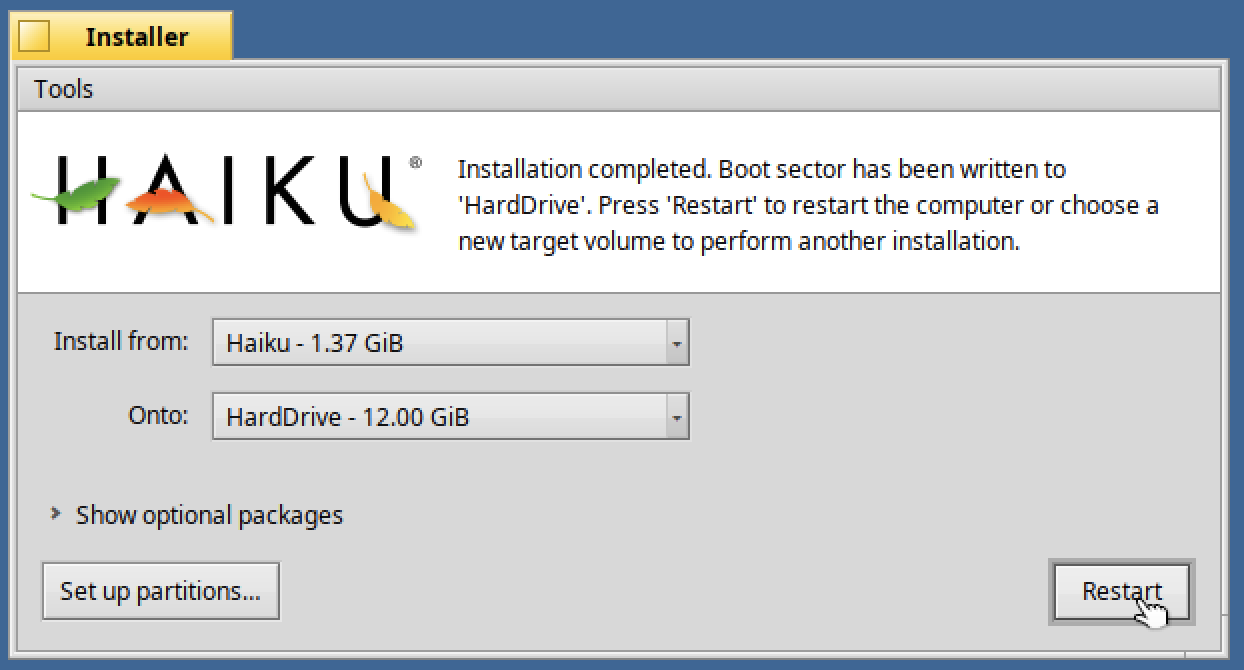
Once the installation is completed as below, click on "Restart" :
You will need to stop the restart with the "stop" icon :

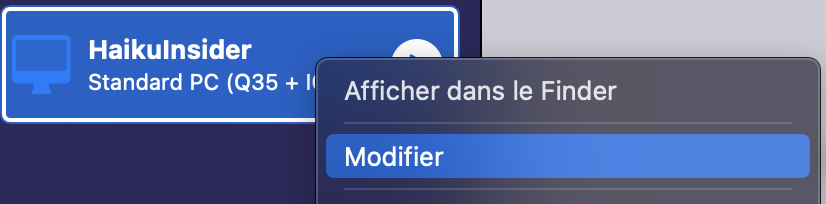
And modify your Haiku entry :
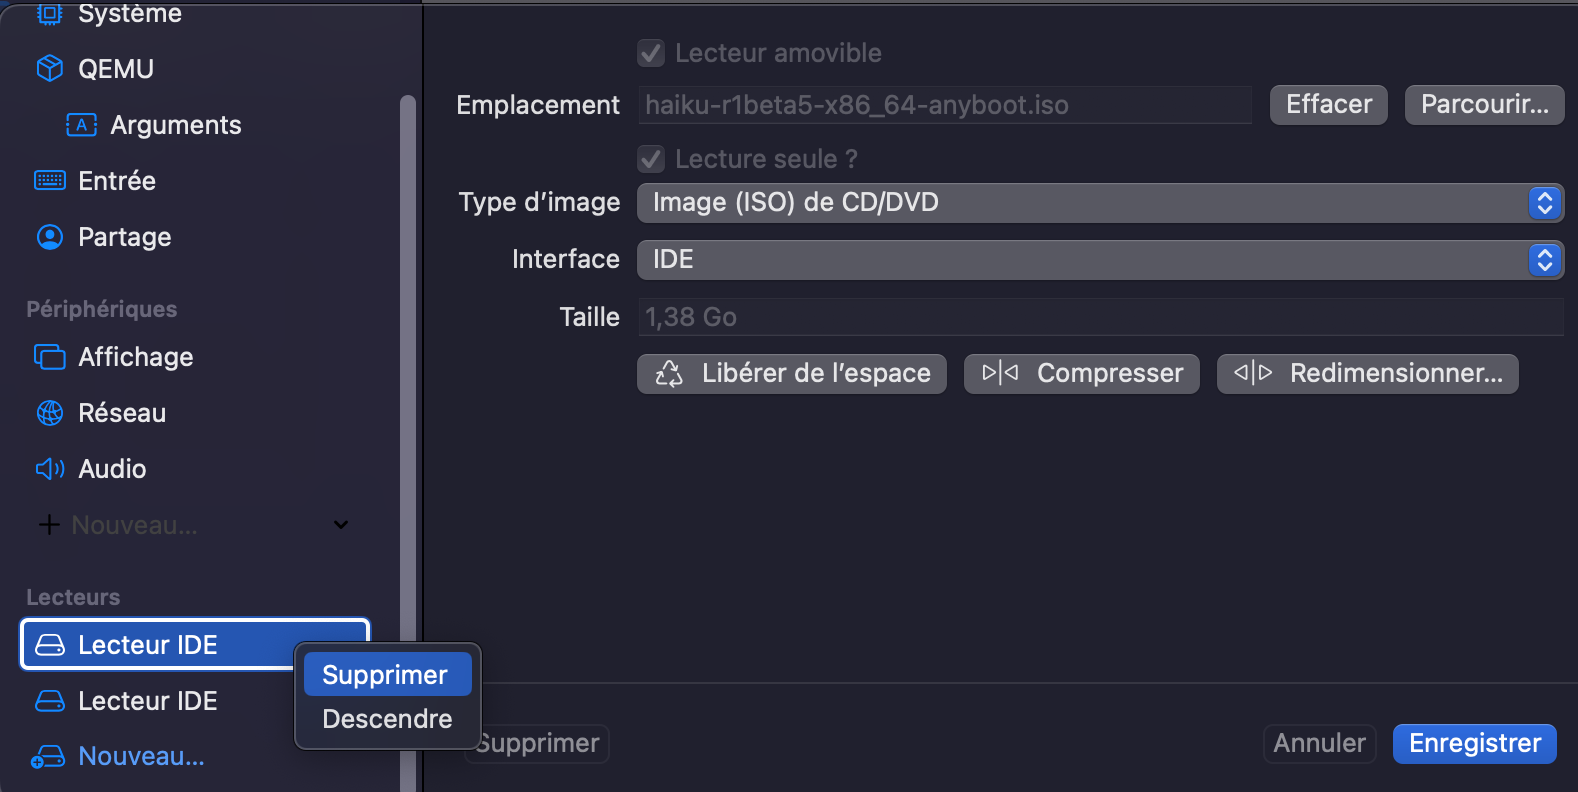
Remove the ISO image drive as per below :
Then you can run your Haiku system properly.
It will now boot on the drive where the ISO image has been installed which is what we want :)
That's it !
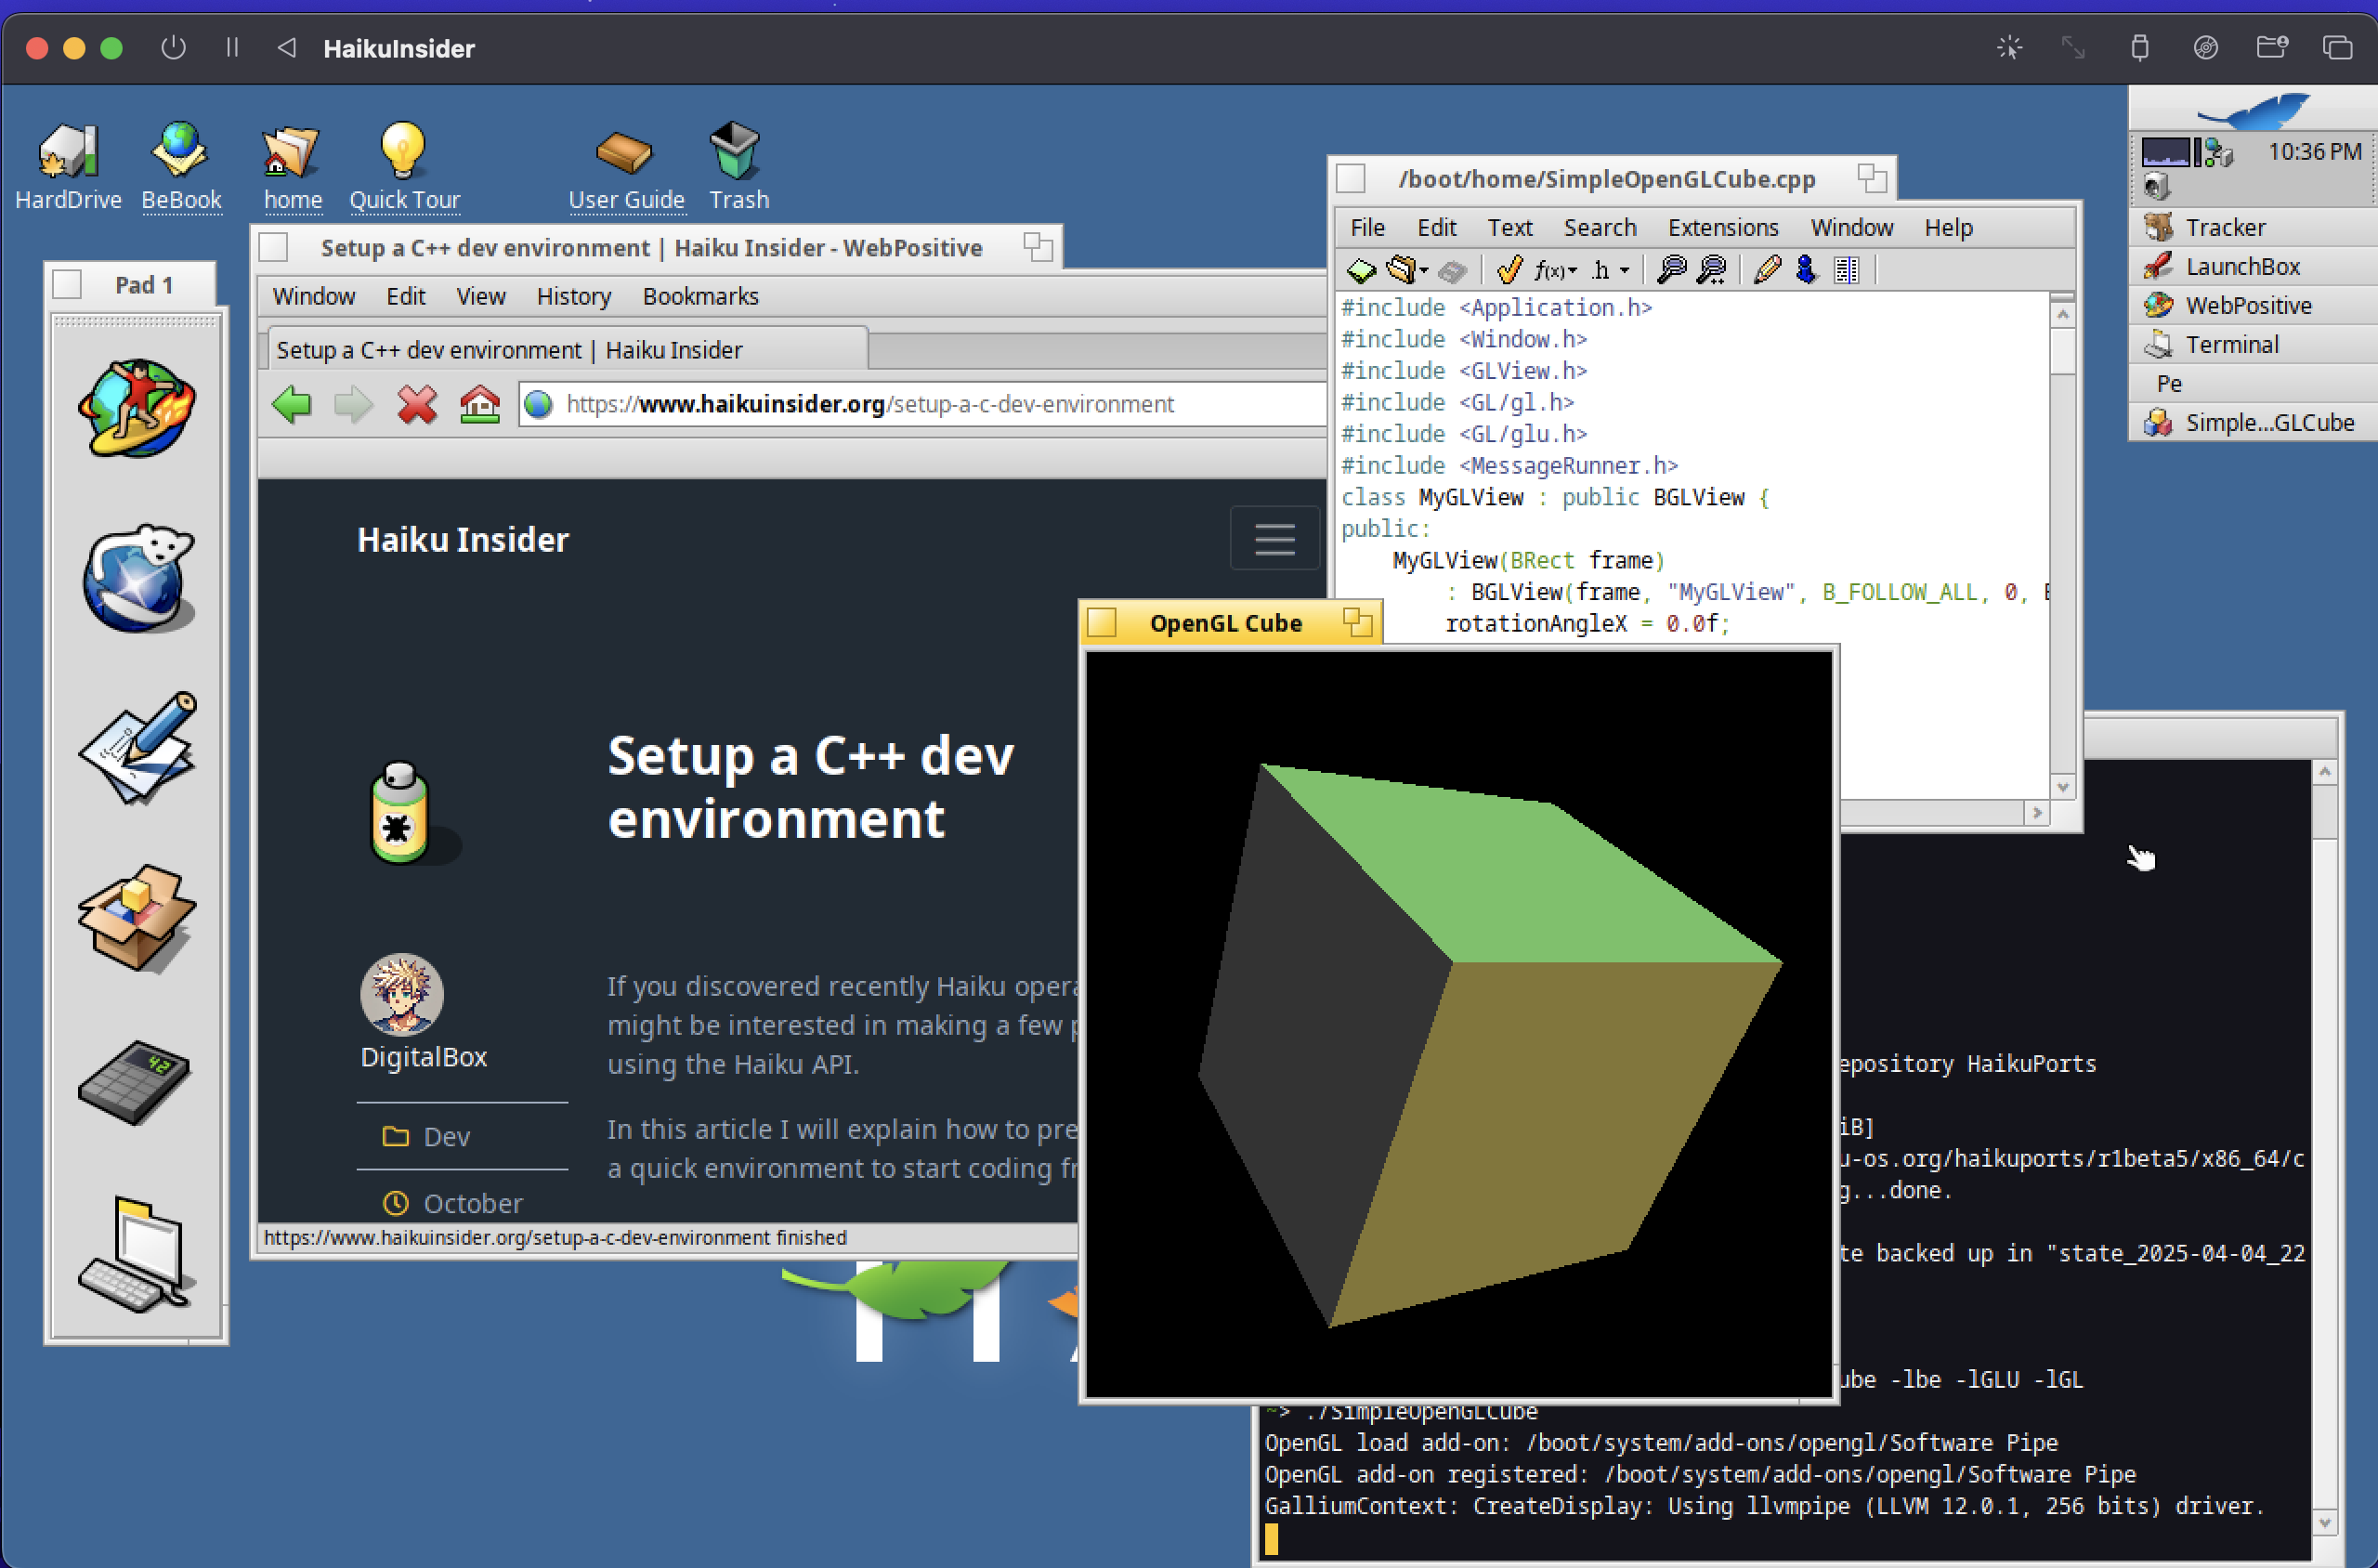
You can now enjoy Haiku under MacOS :
- Compiling your favorite C++ programs out of the box (g++ with Pe editor)
- Surfing HaikuInsider website with WebPositive or Iceweasel
- Other interesting tasks :)
Please note using Haiku under UTM will be less responsive than having the system on a dedicated machine, however it's a good compromise in order to have Haiku easily available on your MacBook :)
I hope you have enjoyed this article, and you can share your experience about using Haiku under MacOS.